👁 Views: 2,923
Lesson 3 – Let’s Begin 1: Learning the Letter Ii
|
In the first two lessons of Let’s Begin 1—the introductory book from Oxford University Press’s Let’s Go series—we learned the vowel letters Aa and Ee. Now, we continue with Lesson 3, which focuses on the third English vowel: the letter Ii. As the ninth letter of the English alphabet and one of the five essential vowels, Ii plays a vital role in pronunciation and word formation. This lesson introduces its short /ɪ/ sound (as in “ink”), common vocabulary, basic conversation practice, and proper handwriting techniques—creating a well-rounded learning experience for young students. |
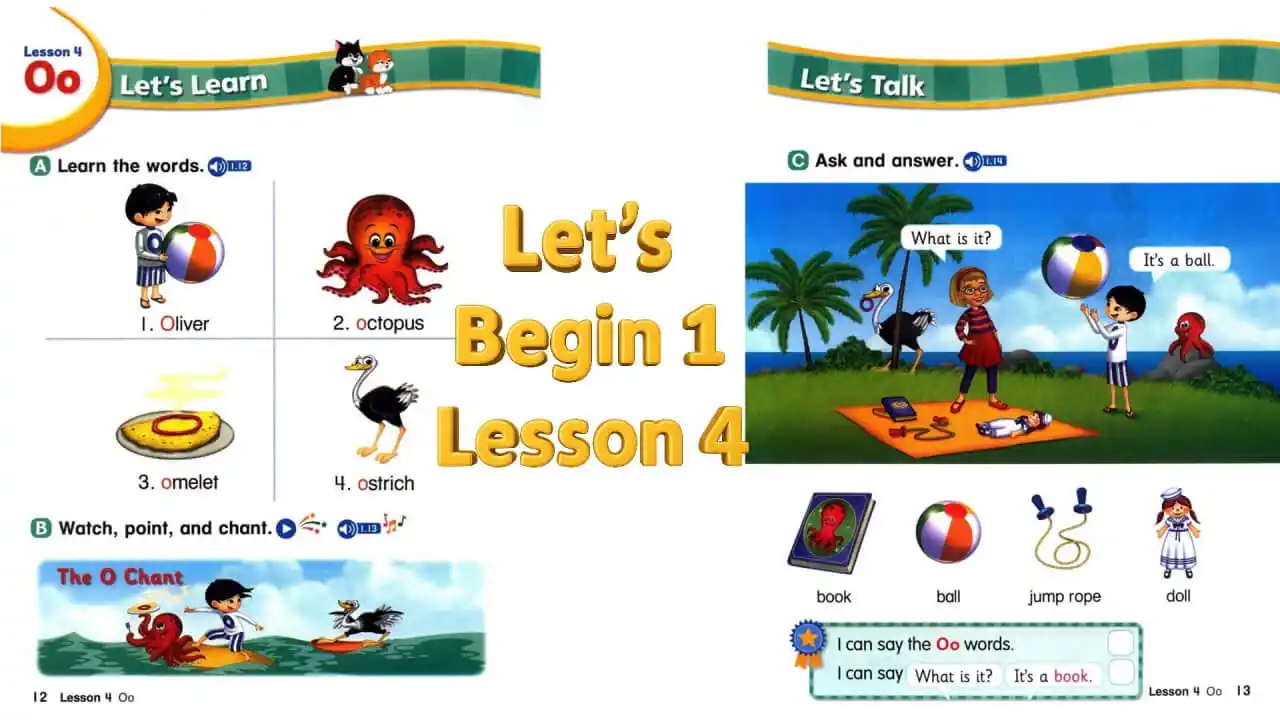
Key Vocabulary – Words Starting with IiEach lesson in Let’s Begin 1 includes one name and three everyday nouns. For Lesson 3, all words begin with the short /ɪ/ sound:
|

How to Pronounce the Short /ɪ/ SoundTo produce the short /ɪ/ sound (as in “igloo” or “insect”):
Practice saying: ink, insect, igloo, Isabel slowly and clearly. Repeat after the video to match native pronunciation. |
Simple Greeting Dialogue – Page 11Lesson 3 introduces a friendly exchange used among peers:
This phrase shows how greetings in English often combine “Hi” (informal) with a caring follow-up question. It’s typically used between friends or people of similar age. For more on greeting styles, click here. |

How to Write the Letter IiCapital I: Draw a vertical line from the top to the bottom line of your 3-line notebook. Add a short horizontal stroke at both the top and bottom. Lowercase i: Write a short vertical stroke between the middle and bottom lines. Place a small dot just above the middle line. For neater handwriting, add a tiny curve or “foot” at the base of the lowercase i. This subtle detail improves letter recognition and overall appearance. |